Despite Fuzzy Studio’s user-friendly interface, you may have overlooked some of its available options during the seamless trajectory generation process. Let us present to you three convenient features in this informative article!
1. Apply Rotation to All
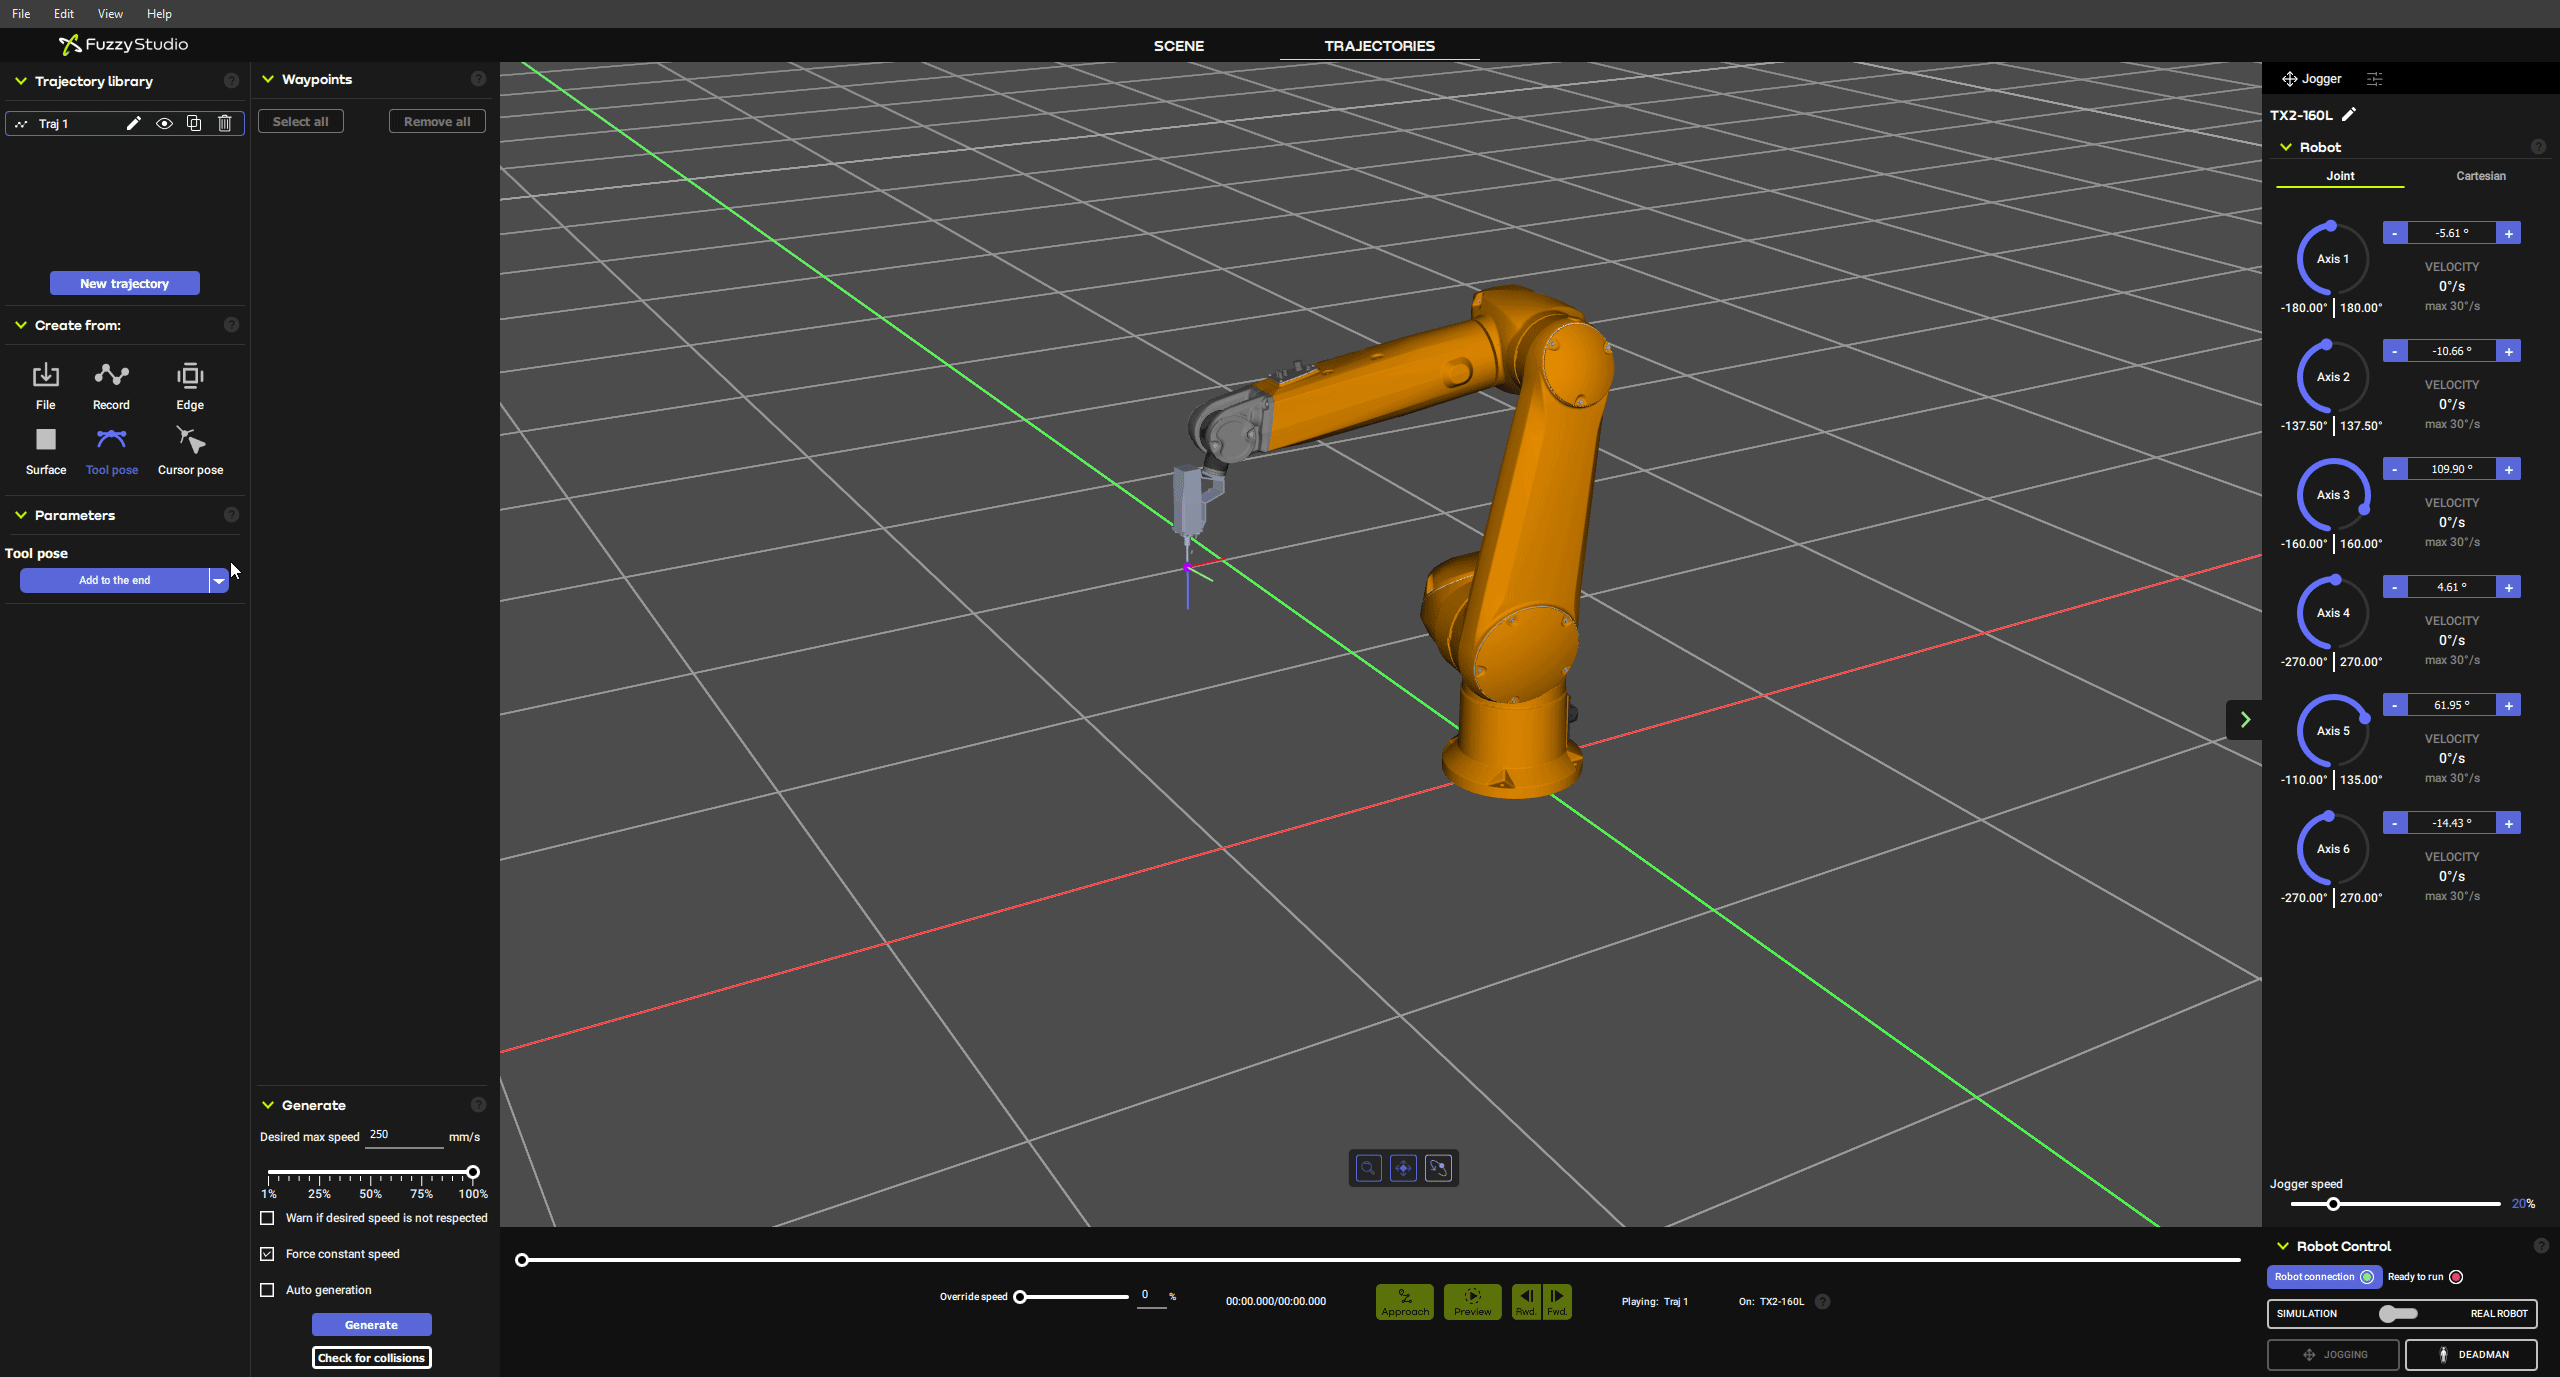
When multiple waypoints are selected, the right panel transforms into a multi-selection panel, displaying the coordinates of the last selected waypoint, as well as the basic parameters accessible with a single selection. The “Apply Rotation to All” checkbox also appears.
This feature allows you to rotate all selected waypoints based on the first one selected, which can come in handy when you want to adjust the orientation relative to one another. By ticking the checkbox, all selected waypoints will adopt the same orientation as the focused waypoint, making it useful for reorienting tools on whole or part of a component.
2. Saved Positions
By clicking the robot icon in the top right corner of the right panel, you can access the “Saved Positions” panel through the “location” icon.
This feature is particularly useful when using a real robot connected through FuzzyRTOS, as it allows you to move the robot back to a convenient position for observation, maintenance, or other tasks.
You can save frequently used positions in your project, such as a loop position, a tool picking position, or a transport position, and generate trajectories in either linear or joint movement.
However, always remember the number one rule of simulation software: preview your trajectory before executing it.
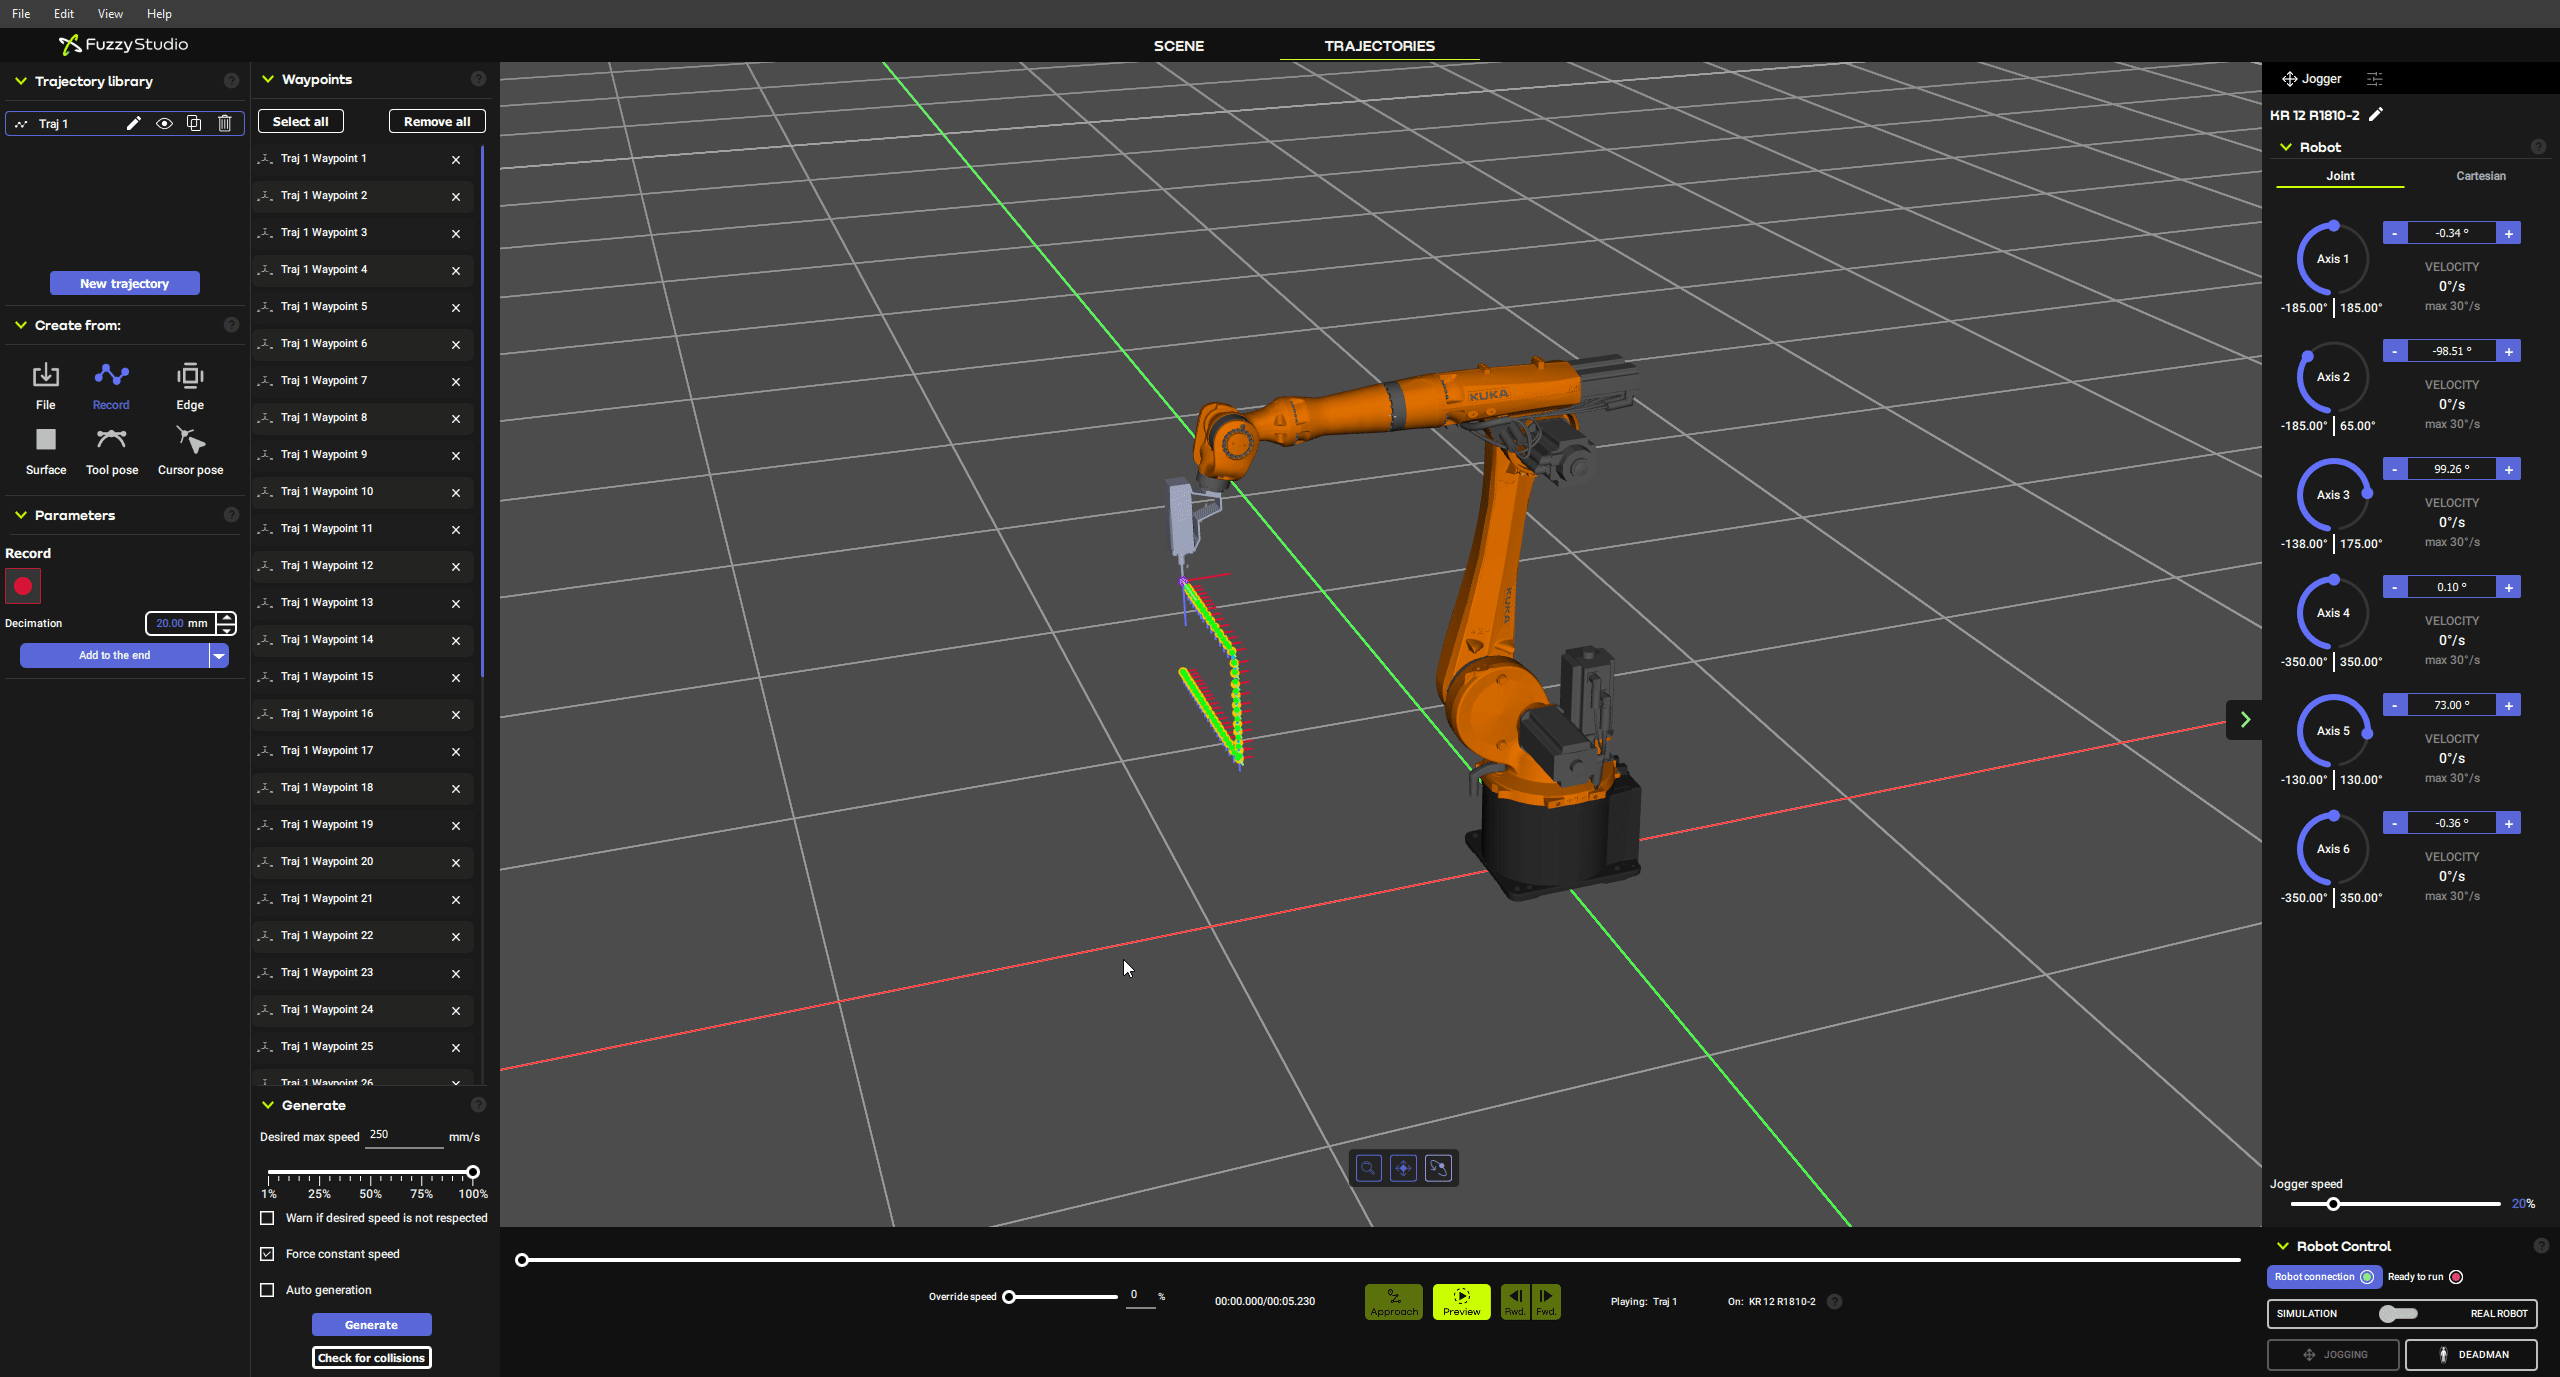
3. Robot Trail
The last feature we’ll cover today is the “Robot Trail”. For some applications that require tools such as sanding or painting, it can be challenging to imagine the tool’s area of effect when programming a complex trajectory.
When selecting a generated trajectory in the left panel, the right panel will display the trajectory panel with various options. One of these options is the “Robot Trail” checkbox. By ticking it, you can choose the desired shape and diameter of the trail to display. Currently, we only offer a circular shape, but more options will be available in the future. With the chosen diameter, previewing the trajectory will show the entire area covered by the tool along the path, making it easier to ensure the desired coverage.
We hope this feature helps you visualize your trajectories!
So much more…
That is all for today, I hope that you enjoyed discovering these new tools and that you will try them shortly after you read this article. Feel free to send us feedback and your ideas for improvements through our website! www.flr.io
